1. Check the Showerhead Accessories
🔍 Inspect the accessories:
Before installing, make sure all parts are included (shower head, hose, bracket, washers, etc.).
Check for any damage, bends, or defects.
✨ Shower head check:
Look for any flaws like scratches, dents, or chipped paint on the showerhead.
The surface should be smooth, with no rough edges, and have a shiny, even finish.
2. Connect the Hose
🚿 Seal the threads:
Wrap Teflon tape around the water pipe interface to prevent leaks.
Attach the showerhead’s inlet hose to the cold/hot water pipe connection. Be careful not to over-tighten and damage the interface!
Turn on the water valve and check for leaks. If water drips, turn it off and adjust the connection.
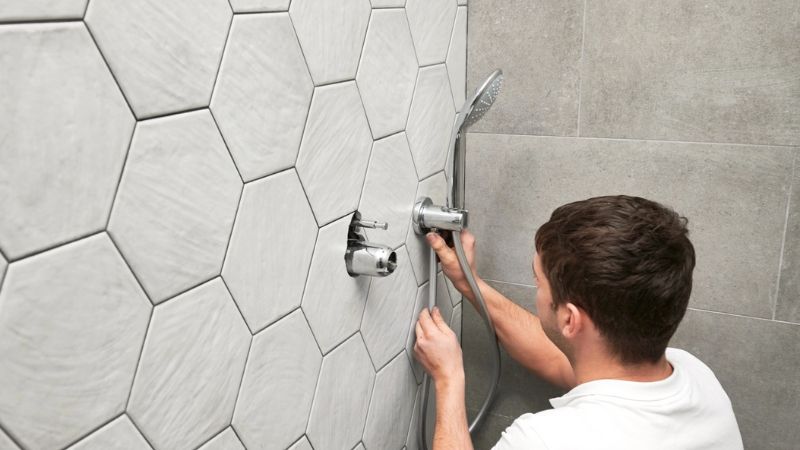
3. Secure the Hand Shower
📍 Mount it properly:
Slide the handheld shower head into its holder and make sure it’s stable but adjustable.
During installation, keep the showerhead level and vertical to avoid tilting.
4. Test the Showerhead
💦 Final check:
Turn on the water and test different spray modes.
Observe if all nozzles spray evenly and smoothly. Make sure water flows evenly and adjust settings if needed.
5. Seal the Gaps
🔧 Prevent leaks & mold:
Apply sealant evenly around connections (like where the showerhead meets the wall or the bracket attaches to the wall) to prevent water from seeping behind the wall.
✨ Pro Tip: If you’re unsure about any step, turn off the water supply first to avoid messy leaks. Enjoy your new shower! 😊


