A shower filter can remove chlorine, heavy metals, and other impurities from your shower water. You can easily install a shower filter yourself in just a few minutes with basic tools.
To get started, you’ll need to unscrew your current showerhead. Then rinse the new filter under warm water for about a minute to clear out any carbon dust. Screw the filter onto your shower pipe, add some plumber’s tape to prevent leaks, and reattach your showerhead.
That’s all there is to it! Your new shower filter will now reduce harmful chemicals and give you cleaner, softer water. Your skin and hair will thank you. Plus, you’ll feel good knowing you’re reducing your exposure to chlorine and other additives. Why not give it a try?
Pre-Installation Checklist
Before you install your new shower filter, it’s important to prepare properly. Having the right tools and choosing the best filter will make the process much smoother.
Gather Your Tools
To install your shower filter, you’ll need a few basic tools.
- Adjustable Wrench: For removing the old showerhead.
- Plumber’s Tape: To create a watertight seal during installation.
- Cloth: To protect your shower’s finish from scratches.
- Bucket: To catch any water that may spill during the process.
Selecting the Right Shower Filter
Pick a shower filter that fits your needs and showerhead. Look for one that removes chlorine and other harmful chemicals. Some filters, like Leelongs filter shower head, specifically target these contaminants while also reducing hard water minerals, enhancing your shower experience.
Check if the filter is compatible with your current showerhead. Many filters work with standard showerheads, but some may need an adapter.
Think about how often you’ll need to replace the filter cartridge. Some last longer than others. Choose one that fits your budget and maintenance preferences.
A good filter will improve your shower water quality and protect your skin and hair.
Step-by-Step Installation Guide
Installing a shower filter is a simple process that can be completed in just a few minutes. Follow these steps to enjoy cleaner, healthier water during your showers.
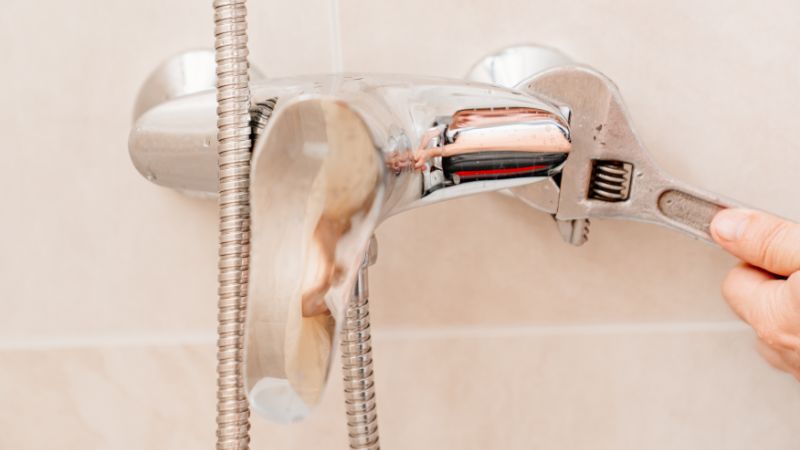
STEP 1: Removing the Existing Shower Head
Turn off the water supply to your shower. Cover the drain with a towel to catch any small parts that might fall.
Grab the existing shower head with one hand and use an adjustable wrench to loosen it. Turn counterclockwise until it comes off.
Clean any leftover tape or debris from the shower arm threads. This ensures a good seal for the new filter.
STEP 2: Installing the Shower Filter
Take your new shower filter out of the package. Check that all parts are included and undamaged.
Wrap plumber’s tape around the shower arm threads 2-3 times. This helps prevent leaks.
Screw the filter onto the shower arm by hand. Make sure it’s snug but don’t overtighten.
Use the wrench to give it a final quarter turn if needed. Be gentle to avoid damaging the filter.
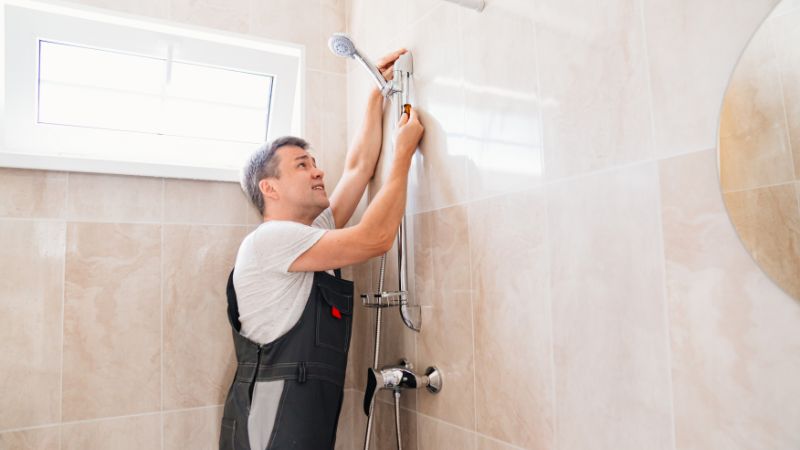
STEP 3: Attaching the Shower Head
Apply plumber’s tape to the threads of the filter’s output.
Screw your shower head onto the filter by hand. Tighten it just enough to prevent leaks.
If your shower head came with a washer, place it inside before attaching. This helps create a watertight seal.
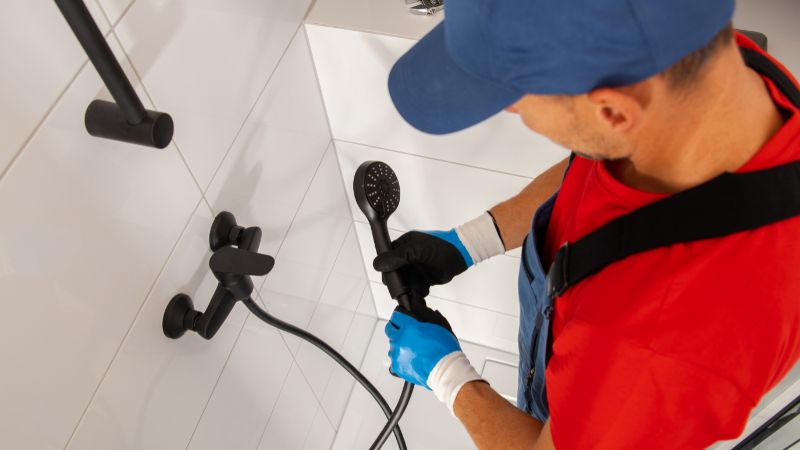
For handheld shower heads, connect the hose to the filter output instead.
STEP 4: Finalizing Installation
Turn on the water supply and check for leaks. If you see any, tighten connections slightly.
Let water run through the filter for a few minutes. This clears out any loose particles.
Adjust the shower head angle for your preferred spray pattern.
Make a note of when you installed the filter. Most cartridges need replacing every 6 months.
After Installation
Great job installing your new shower filter! Now let’s make sure everything is working properly and learn how to keep it in top shape. These steps will help you enjoy clean, filtered showers for a long time.
Check for Leaks
Turn on your shower and watch closely. Look for any water dripping from the connections. Check where the filter attaches to the shower arm and where the showerhead connects to the filter. If you see leaks, turn off the water and tighten the connections a bit more. Don’t overdo it – just a gentle twist should do the trick.
Still leaking? Try using plumber’s tape on the threads. Wrap it clockwise around the shower arm before reattaching the filter. This often fixes stubborn leaks.
Remember to check for leaks again after a few showers. Sometimes they can appear later as things settle.
Initial Maintenance Tips
Your new filtered shower head needs a little TLC to work its best. Start by letting the water run for 1-2 minutes before your first shower. This clears out any loose carbon particles.
For the first week, you might notice the water pressure seems lower. Don’t worry! This is normal as the filter settles in. If it doesn’t improve, check if the filter is clogged.
Clean your showerhead regularly to prevent buildup. A quick wipe with a soft cloth after each shower helps. For deeper cleaning, soak it in vinegar once a month.
Mark your calendar for filter changes. Most need replacing every 6 months. Set a reminder so you don’t forget!
Maintaining Your Shower Filter
Proper upkeep of your shower filter keeps it working well and lasting longer. You’ll need to replace parts and clean it regularly.
When to Replace the Filter Cartridge
Your shower filter cartridge won’t last forever. Check the packaging to see how often you should swap it out. Most need replacing every 6-12 months.
Signs it’s time for a new cartridge: • Less water pressure • Odd smells or tastes • Visible dirt or buildup
To replace it:
- Turn off the water
- Unscrew the filter housing
- Take out the old cartridge
- Put in the new one
- Screw everything back together
Make a note of when you change it. This helps you keep track for next time.
Regular Cleaning Routines
Clean your shower filter every few weeks to keep it in top shape. Here’s a simple method:
- Mix equal parts water and white vinegar
- Soak the filter for 30 minutes
- Rinse it well with clean water
- Let it air dry before putting it back
For tougher buildup, use an old toothbrush to scrub gently. Don’t use harsh chemicals – they can damage the filter.
Wipe down the outside of the filter with a damp cloth. This prevents soap scum and hard water stains from building up.