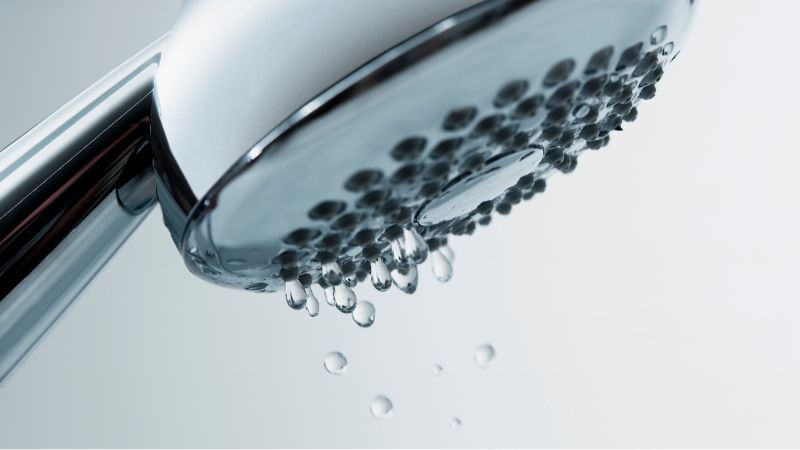
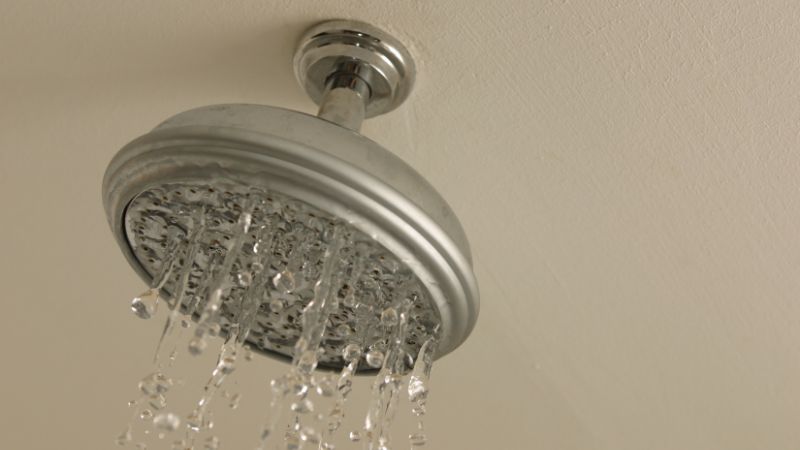
That incessant drip, drip, drip from the shower is more than just a minor annoyance; it’s a constant reminder of wasted water and money going down the drain. A single dripping shower head can waste hundreds of gallons of water per year, leading to surprisingly high utility bills and unnecessary environmental impact.
Most leaky shower heads are caused by a few common problems that you can easily fix yourself with a few basic tools. In this guide, we’ll walk you through everything you need to know to diagnose and repair a leaky shower head.
Why is My Showerhead Leaking? Common Causes
Before you can fix the leak, you need to understand what’s causing it. Here are the most common culprits behind a dripping shower head:
1. Mineral Buildup (Limescale)
If you live in an area with hard water, mineral deposits like calcium and magnesium can accumulate over time, clogging the small holes in your shower head. This buildup, often called limescale, can disrupt the flow of water and cause it to leak from the base or other connection points. This is one of the most frequent causes of shower head leaks.
2. Worn-Out Washers and O-Rings
Inside the connection between your shower head and the shower arm is a small rubber washer or O-ring that creates a watertight seal. Over time, these rubber components can degrade, crack, or become compressed, allowing water to seep through the connection.
3. Loose Connections
Sometimes the simplest solution is the right one. A shower head can become loose over time, and if the connection to the shower arm isn’t secure, it will leak. A quick tightening might be all that’s required to solve the problem.
4. A Faulty Shower Cartridge
If your shower drips even when the water is turned off, the problem likely lies with the faucet cartridge. This is a valve inside the faucet body that controls the flow of hot and cold water. When the cartridge is worn out or damaged, it can’t create a complete seal, resulting in a persistent drip.
5. Improper Installation
If your shower head is new and already leaking, the problem could be due to improper installation. Common mistakes include cross-threading the connections or forgetting to use plumber’s tape (also known as Teflon tape) to seal the threads.
How to Fix a Leaking Shower Head: Step-by-Step Guide
Ready to tackle that drip? Here’s how to do it.
Before You Begin: Gather Your Tools and Materials
You won’t need much for this project. Here’s a list of what to have on hand:
- Adjustable wrench or pliers
- Screwdriver
- Replacement washers or O-rings
- Teflon tape (plumber’s tape)
- A soft cloth or rag
- A bowl of white vinegar
- An old toothbrush
Step 1: Turn Off the Shower Valve
Before you do anything else, turn off the water supply to the shower. You can usually do this by turning the handle on the faucet to the “off” position. For a more thorough job, it’s a good idea to shut off the main water supply to your house.
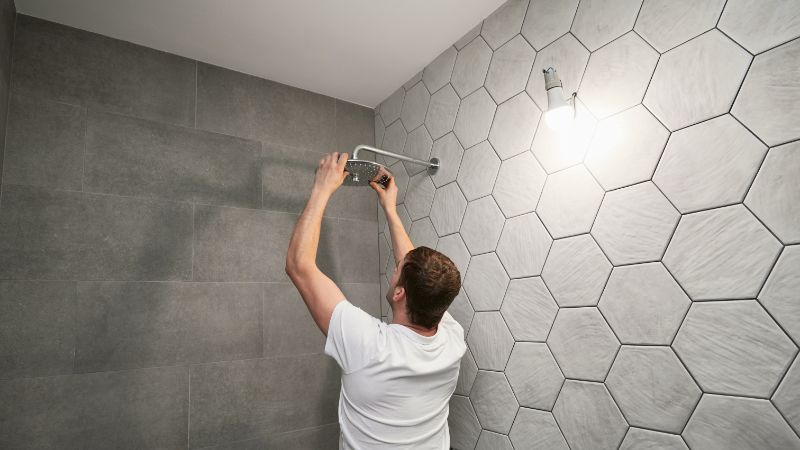
Step 2: Remove the Leaky Shower Head
Wrap your cloth or rag around the base of the shower head to protect the finish. Use your adjustable wrench or pliers to gently loosen the nut connecting the shower head to the shower arm. Once it’s loose, you should be able to unscrew it by hand.
Step 3: Inspect and Clean
With the shower head removed, take a close look at the inside.
- Check the Washer: Look for the rubber washer inside the connector. Is it cracked, brittle, or worn out? If so, it needs to be replaced.
- Clean Mineral Buildup: If you see any white, chalky residue, that’s limescale. To remove it, submerge the shower head in a bowl of white vinegar for a few hours (or even overnight for heavy buildup). The acetic acid in the vinegar will dissolve the mineral deposits. After soaking, use an old toothbrush to scrub away any remaining residue.
Step 4: Replace Worn Parts
- Replace the Washer/O-Ring: If the old washer was damaged, now is the time to replace it. You can find replacement washers at any hardware store; be sure to get the right size.
- Apply Teflon Tape: To ensure a watertight seal, wrap the threads of the shower arm with Teflon tape. Wrap it in a clockwise direction 3-4 times. This will help create a secure, leak-proof connection.
Step 5: Reinstall the Shower Head
Screw the shower head back onto the shower arm, hand-tightening it first. Then, use your wrench (with the cloth to protect the finish) to give it one final, snug turn. Be careful not to overtighten, as this can damage the threads.
Step 6: Test for Leaks
Turn the water supply back on and run the shower. Check for any drips or leaks around the connection. If it’s dry, congratulations—you’ve fixed the leak!
When the Drip Doesn’t Stop: Troubleshooting a Persistent Leak
If you’ve tried all the steps above and your shower head is still dripping, the problem is likely more than just a simple mineral clog or a worn washer.
The Problem Might Be the Faucet Cartridge
If your shower continues to drip when the water is off, the faucet cartridge is the most likely culprit. Replacing a cartridge is a more involved repair, and while it’s possible for a confident DIYer to tackle, it may be best left to a professional if you’re not comfortable with more advanced plumbing tasks.
Know When to Call a Professional
While many shower head leaks are easy to fix, some problems require the expertise of a licensed plumber. You should call a professional if:
- You’ve tried all the DIY fixes and the leak persists.
- You suspect the problem is the faucet cartridge and you’re not comfortable replacing it yourself.
- You notice signs of water damage in the wall behind the shower, such as soft drywall or peeling paint.
- You have low water pressure throughout your house, which could indicate a more serious plumbing issue.
Conclusion
A leaky shower head is a common household problem. By following these steps, you can save water, lower your utility bills, and restore peace and quiet to your bathroom. So the next time you hear that annoying drip, drip, drip, don’t just ignore it—grab your tools and put a stop to it for good.
Recommended Leelongs Products for a Leak-Free Shower
To address a leaking shower head, consider these Leelongs products that prevent mineral buildup and replace faulty parts:
- Filtered Shower Heads: A primary cause of leaks is mineral buildup. Our filtered shower heads contain built-in filters that reduce limescale and other minerals, preventing clogs and leaks while also improving skin and hair health.
- Thermostatic Shower Valves: For leaks caused by a faulty cartridge, our durable thermostatic shower valves offer a reliable replacement with precise temperature control and anti-scald technology for a safe and comfortable shower.
- Concealed Shower Systems: For a more permanent and modern solution, a concealed shower system is designed for durability and is less prone to leaks than traditional systems.
- Complete Shower Sets: For a full replacement, our stylish shower sets provide an all-in-one solution with a shower head, valve, and all hardware included, ensuring compatibility and seamless installation.


